
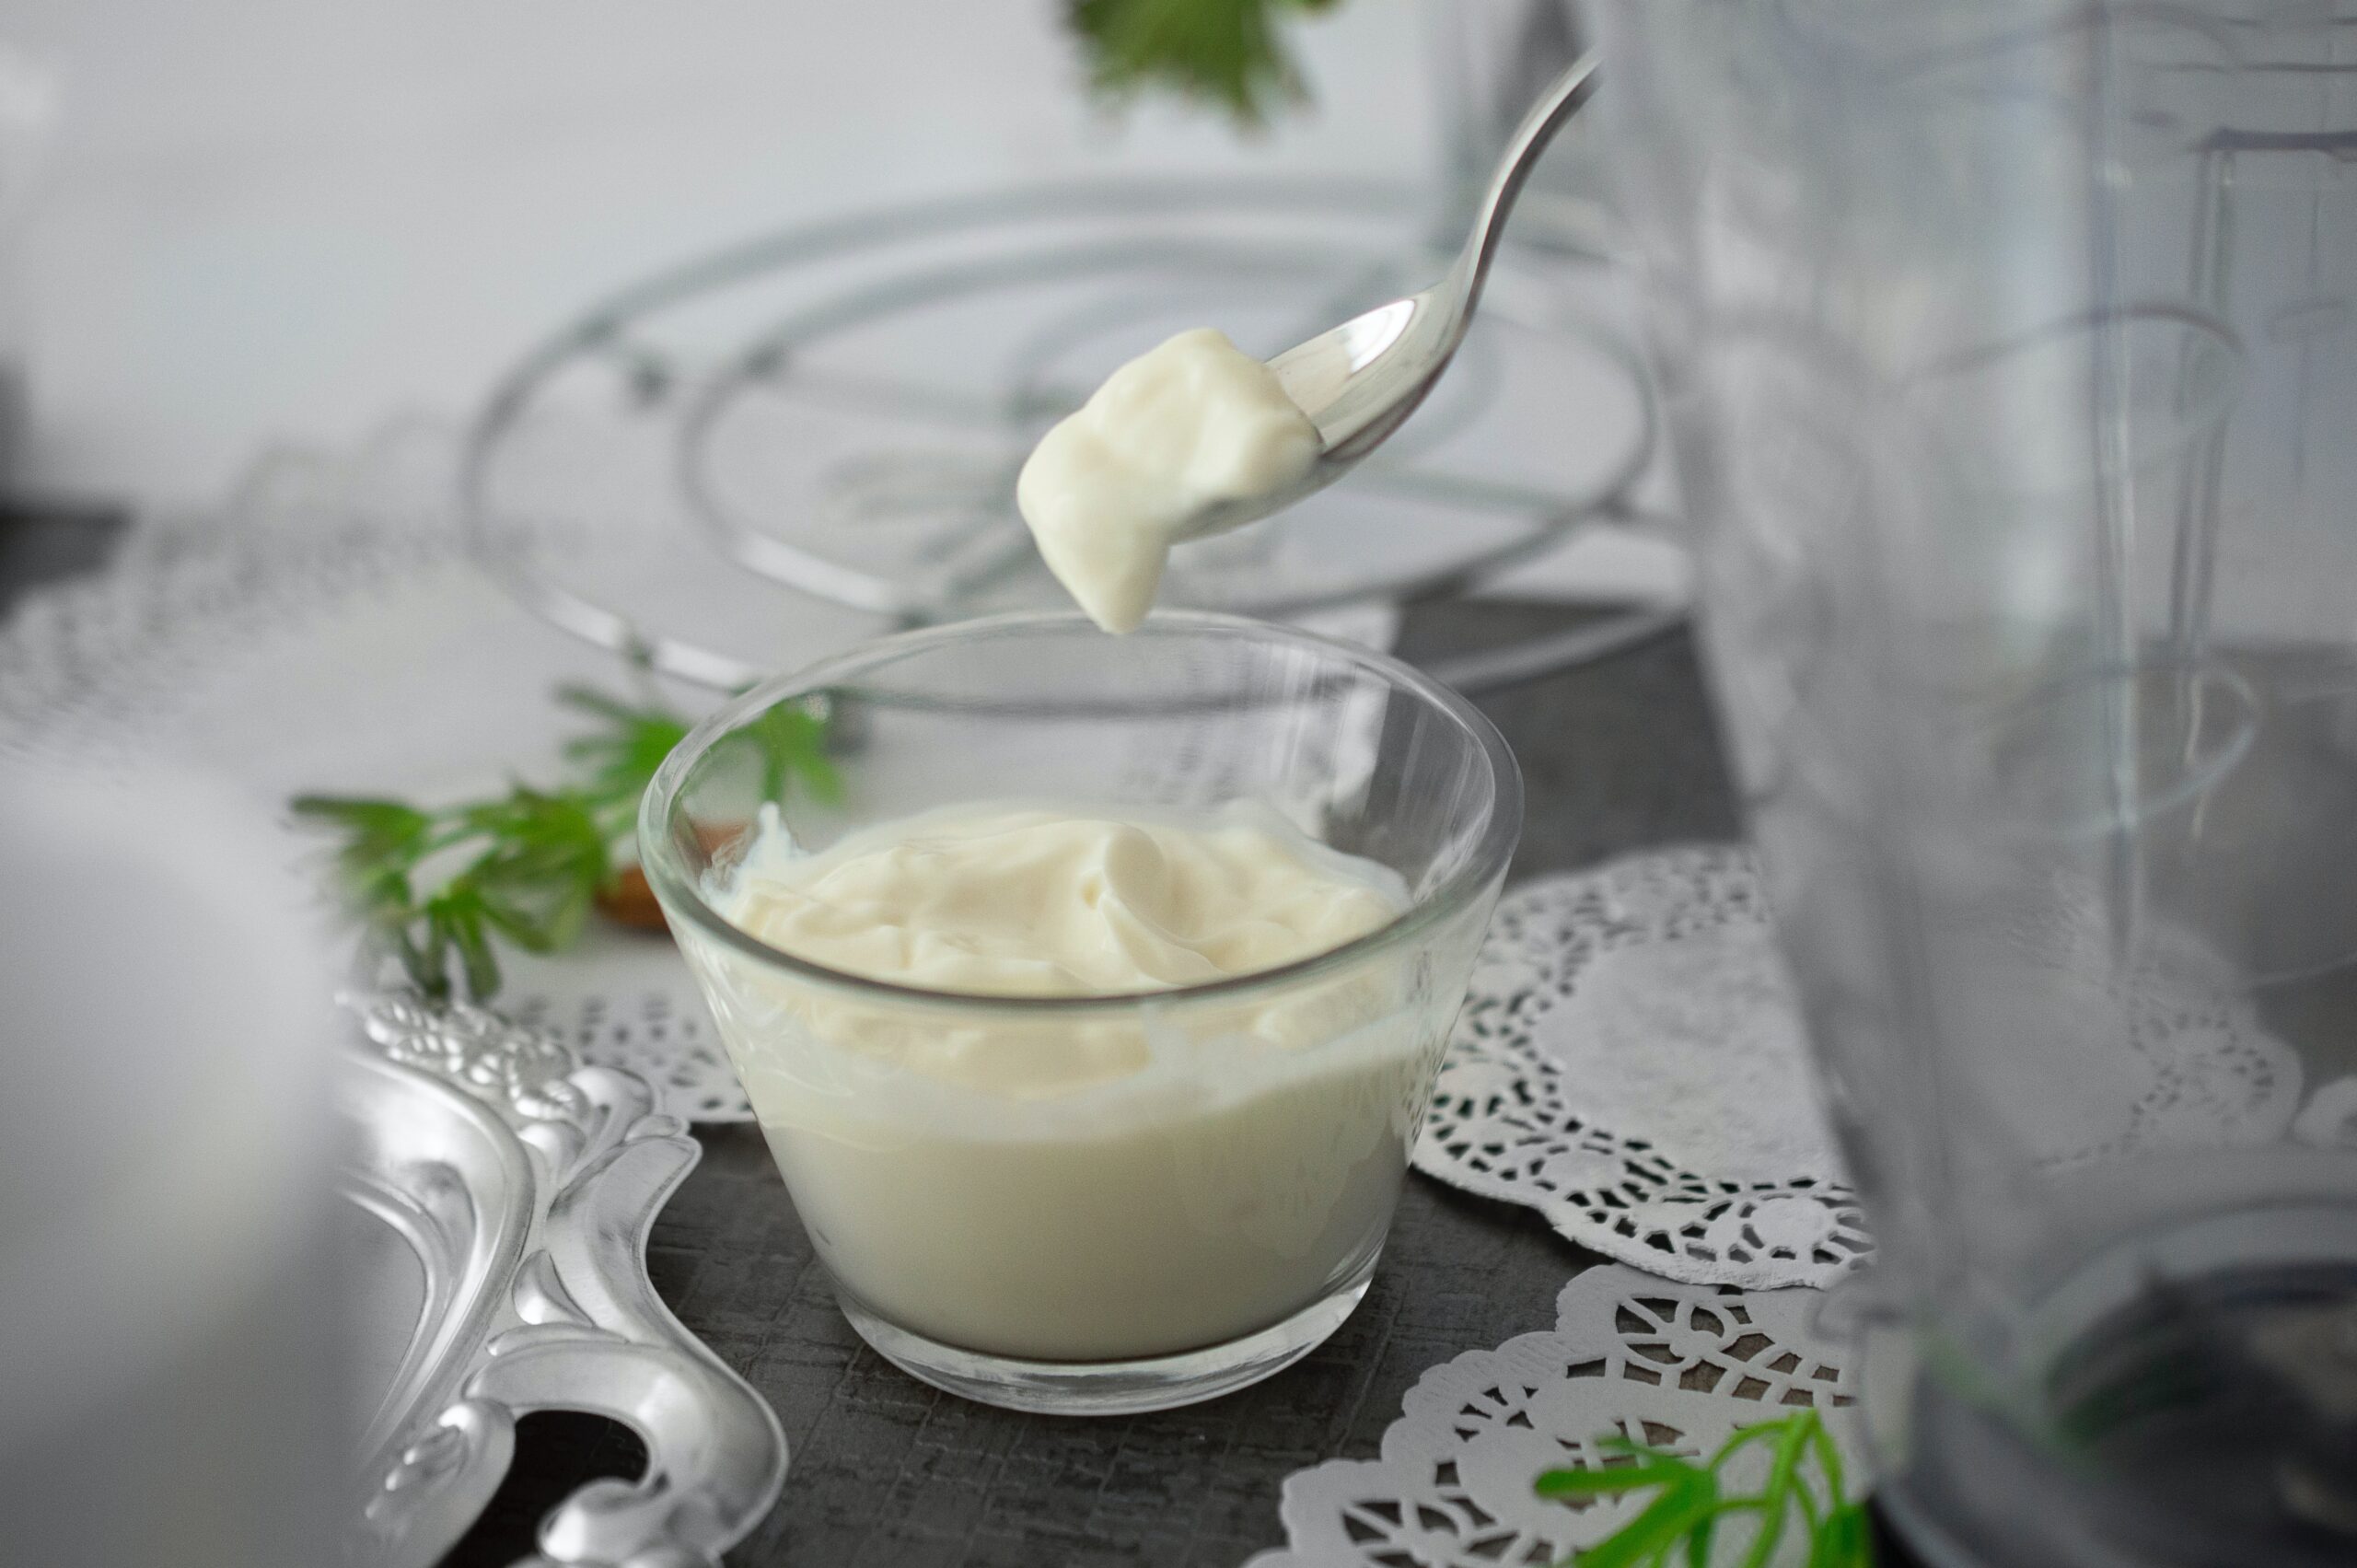
By making baby yogurt at home, you have control over the ingredients and can ensure that your little bundle of joy receives the best possible nutrition. Using an Instant Pot simplifies the process, making it easy and convenient. In this article, we will guide you through the simple steps to prepare homemade yogurt using an Instant Pot.
Preparing homemade baby yogurt using an Instant Pot is a simple and rewarding process. By making your own yogurt, you can provide your little one with a wholesome and nutritious snack, free from unnecessary additives. Remember to always use fresh ingredients, practice proper hygiene, and follow food safety guidelines. Enjoy this delicious and healthy treat for your baby!
Why Choose Homemade Baby Yogurt?
Homemade baby yogurt offers several benefits over store-bought options. Firstly, you have complete control over the ingredients, ensuring that your baby gets the most natural and fresh yogurt possible. Additionally, homemade yogurt allows you to choose the type and quality of milk, ensuring it’s free from unnecessary additives and sweeteners. Moreover, making your own yogurt is cost-effective, allowing you to save money in the long run.

Ingredients to make homemade yogurt recipe
- 4 cups of whole milk (preferably organic)
- 2 tablespoons of plain yogurt with live active cultures (as a starter) or a whole green chilli.
Equipment Needed:
- Instant Pot (electric pressure cooker)
- Sterilized containers for storing the yogurt
Instructions – Make yogurt at home
- Boil the whole milk until 180 degrees on a stove.
- Let it cool down until the milk is Luke-warm.
- Add a spoon of yogurt to the boiled milk or add in a whole green chilli to the milk.
- Add the yogurt mixture to the Instant Pot and whisk gently to combine.
- Close the Instant Pot lid, set the vent to the sealing position, and press the “Yogurt” button. The display should show “8:00” or a similar time setting, indicating the incubation period.
- Allow the Instant Pot to incubate the yogurt for at least 8 hours or up to 12 hours, depending on the desired tartness. The longer the incubation time, the tangier the yogurt will become.
- After the desired incubation period, carefully remove the inner pot from the Instant Pot and transfer it to the refrigerator. Let the yogurt cool and set in the refrigerator for at least 4 hours or overnight.
- Once the yogurt has chilled, pour it into sterilized containers suitable for storing baby food. Ensure that the containers are airtight.
- Your homemade baby yogurt is now ready to serve. You can store it in the refrigerator for up to 5 days.

Recipes using Homemade yogurt
- Rice flour fritters – easy and healthy finger food that babies can enjoy with just few ingredients.
- Curd rice – A healthy meal that helps improve digestion and makes a perfect baby food.
- Banana muffin – An easy blw recipe made using homemade yogurt for babies to enjoy.
FAQs – homemade yogurt recipe instant pot
Is it safe to make yogurt in Instant Pot?
Yes, it is safe to make yogurt in an Instant Pot, provided you follow the manufacturer’s instructions and practice proper food safety measures. The Instant Pot has a yogurt setting specifically designed for the purpose of making yogurt, which ensures that the milk is heated and incubated at the appropriate temperatures.
Here are a few considerations to keep in mind for safe yogurt-making in an Instant Pot:
- Cleanliness: Make sure to clean your Instant Pot thoroughly before use to avoid any contamination. This includes washing the inner pot, sealing ring, and any other removable parts according to the manufacturer’s instructions.
- Pasteurized Milk: Always use pasteurized milk when making yogurt to eliminate any harmful bacteria that may be present in raw milk. Pasteurized milk is widely available in grocery stores and is the recommended choice for homemade yogurt.
- Starter Yogurt: Use a plain yogurt with live active cultures as a starter for your homemade yogurt. Look for yogurt labels that mention live or active cultures, as these contain the beneficial bacteria necessary for fermentation.
- Temperature Control: The Instant Pot’s yogurt setting ensures that the milk is heated to a specific temperature for the initial boiling process and then cooled down before adding the starter. This helps create the right environment for the beneficial bacteria to thrive.
- Incubation Time: It is important to allow the yogurt to incubate for the recommended time period (usually between 8 to 12 hours) at a consistent temperature. The Instant Pot maintains a stable temperature during the incubation process, promoting the growth of the beneficial bacteria.
- Storage and Shelf Life: Once the yogurt is made, store it in clean, airtight containers in the refrigerator. Homemade yogurt typically stays fresh for up to 5 days, but it’s important to use your judgment and discard it if you notice any signs of spoilage or an off smell.
Is homemade yogurt safe for babies?
Yes, homemade yogurt can be safe for babies when prepared and stored properly. Yogurt is a nutritious food that offers several health benefits for babies, including pro-biotics that support their digestive health. However, there are a few important considerations to keep in mind:
- Age Appropriateness: It is generally recommended to introduce yogurt to babies around 6 to 8 months of age, when they have started consuming solid foods and have no known dairy allergies. Always consult with your pediatrician before introducing any new food to your baby’s diet.
- Milk Allergies: Some babies may have allergies or sensitivities to milk proteins. If you suspect your baby has a milk allergy or intolerance, consult with your pediatrician before introducing yogurt or any dairy products.
- Introduce Slowly: When introducing yogurt for the first time, start with a small amount and observe your baby for any adverse reactions such as rashes, hives, or digestive issues. If your baby shows any signs of discomfort or allergy, stop feeding yogurt and consult with a healthcare professional.
- Plain, Whole Milk Yogurt: For babies under one year old, it is generally recommended to use plain, whole milk yogurt. Avoid flavored or sweetened varieties, as they often contain added sugars that are not suitable for babies.
- Homemade vs. Store-bought: Both homemade and store-bought yogurt can be safe for babies. However, when making homemade yogurt, ensure you follow proper hygiene practices, use pasteurized milk, and maintain proper temperatures during the process to minimize the risk of bacterial contamination.
- Storage and Shelf Life: Properly store homemade yogurt in clean, airtight containers in the refrigerator and use it within the recommended time frame (usually up to 5 days) to maintain freshness and minimize the risk of spoilage.
Always consult with your pediatrician for specific guidance on introducing yogurt and other foods to your baby, especially if your baby has any unique dietary needs or health concerns. They can provide personalized advice based on your baby’s individual circumstances.
Is it cheaper to make yogurt in Instant Pot?
Making yogurt in an Instant Pot can be a cost-effective option compared to buying yogurt from the store, especially if you consume yogurt regularly or have a household with multiple yogurt consumers. Here’s why:
- Cost of Ingredients: The main ingredient for making yogurt is milk, which is generally less expensive than buying premade yogurt. You have the flexibility to choose the type and quality of milk you prefer, whether it’s organic, whole milk, or any other variety.
- Re-usability: Once you’ve made your first batch of yogurt, you can use a small portion of it as a starter culture for subsequent batches. This means you won’t have to buy a starter culture every time, saving you money in the long run.
- Quantity Control: When making yogurt at home, you can prepare as much or as little as you need. This eliminates the need to purchase pre-packaged yogurt cups or larger containers, allowing you to reduce waste and save money by making the desired quantity.
- Customization: Making yogurt at home allows you to control the flavors and additives. You can choose to keep it plain or add your own fruit, honey, or other natural sweeteners, avoiding the additional costs associated with pre-flavored or specialty yogurts.
- Long-Term Savings: Over time, the savings from making yogurt at home can add up, especially if you regularly consume yogurt or have a large family. The initial investment in an Instant Pot may be offset by the savings from making yogurt yourself instead of purchasing it.
It’s worth noting that the cost-effectiveness of making yogurt in an Instant Pot may vary depending on factors such as the cost of ingredients in your area, the frequency of yogurt consumption, and personal preferences.
What can I use instead of yogurt button on Instant Pot?
If your Instant Pot doesn’t have a dedicated “Yogurt” button, don’t worry! You can still make yogurt using alternative methods. Here are two options you can consider:
- Manual Mode:
- Pour the milk into the Instant Pot and close the lid.
- Set the vent to the sealing position.
- Use the “Manual” or “Pressure Cook” button to select high pressure.
- Adjust the time to boil the milk to reach 180°F (82°C). This may take around 10-15 minutes depending on the quantity of milk.
- Once the milk has reached the desired temperature, use the “Cancel” button to stop the heating process.
- Let the milk cool down to approximately 110°F (43°C). This cooling process can take around 1-2 hours.
- Follow the remaining steps in the homemade baby yogurt recipe, starting from step 5.
- External Yogurt Maker: If your Instant Pot doesn’t have a yogurt function or you prefer a dedicated yogurt maker, you can consider using an external yogurt maker. These devices are specifically designed for yogurt-making and provide precise temperature control. The process generally involves heating and incubating the milk and starter culture at specific temperatures for the desired duration. Simply follow the instructions provided with your yogurt maker, adjusting the quantities and incubation times according to your needs.
Regardless of the method you choose, the key is to maintain the appropriate temperatures during the different stages of yogurt-making: heating, cooling, and incubation.
Homemade yogurt recipe
Equipment
- Instant Pot (electric pressure cooker)
- Sterilized containers for storing the yogurt
Ingredients
- 4 cups of whole milk preferably organic
- 2 tablespoons of plain yogurt with live active cultures as a starter or a whole green chilli.
Instructions
- Boil the whole milk until 180 degrees on a stove.
- Let it cool down until the milk is Luke-warm.
- Add a spoon of yogurt to the boiled milk or add in a whole green chilli to the milk.
- Add the yogurt mixture to the Instant Pot and whisk gently to combine.
- Close the Instant Pot lid, set the vent to the sealing position, and press the “Yogurt” button. The display should show “8:00” or a similar time setting, indicating the incubation period.
- Allow the Instant Pot to incubate the yogurt for at least 8 hours or up to 12 hours, depending on the desired tartness. The longer the incubation time, the tangier the yogurt will become.
- After the desired incubation period, carefully remove the inner pot from the Instant Pot and transfer it to the refrigerator. Let the yogurt cool and set in the refrigerator for at least 4 hours or overnight.
- Once the yogurt has chilled, pour it into sterilized containers suitable for storing baby food. Ensure that the containers are airtight.
- Your homemade baby yogurt is now ready to serve. You can store it in the refrigerator for up to 5 days.
2 thoughts on “Easy Homemade Baby yogurt using Instant pot”